
If you want to start a blog with WordPress today; you’ve come to the right place.
Even if you have no experience with blogs or websites, there’s no need to make things more difficult than they should be.
At least, that’s my vision of things and that’s why I’m here to help you today!
So, first of all: congratulations on being here and on getting here!
To start a blog with WordPress on Bluehost, you need two things:
- A great blog topic to write about
- Find the perfect blog name.
Now, you only need a simple, step-by-step WordPress guide to getting your blog online for the whole world to see.
What do I need to get my blog online?
In short: all you need to start your own blog is:
– Hosting plan: this is the web server on which all the files and data of your blog are stored.
– Domain name: what people type in their browser to find and visit your blog.
– Blog platform: WordPress – the software you will use to create and manage your blog.
Even if you’re not sure what it is, don’t worry. We’ll go through each step, just follow!
How to Create a Blog with WordPress on Bluehost in 2024
This guide to creating a WordPress blog on Bluehost will only take 10 minutes.
Make yourself a cup of coffee and let me guide you through six easy steps to get your blog up and running before your cup is empty!
If you want to complete this blog setup tutorial later, save it for later!
Step 1: How to Get a Bluehost Hosting Account
First, click here to access Bluehost to get started.
The page will look like this:
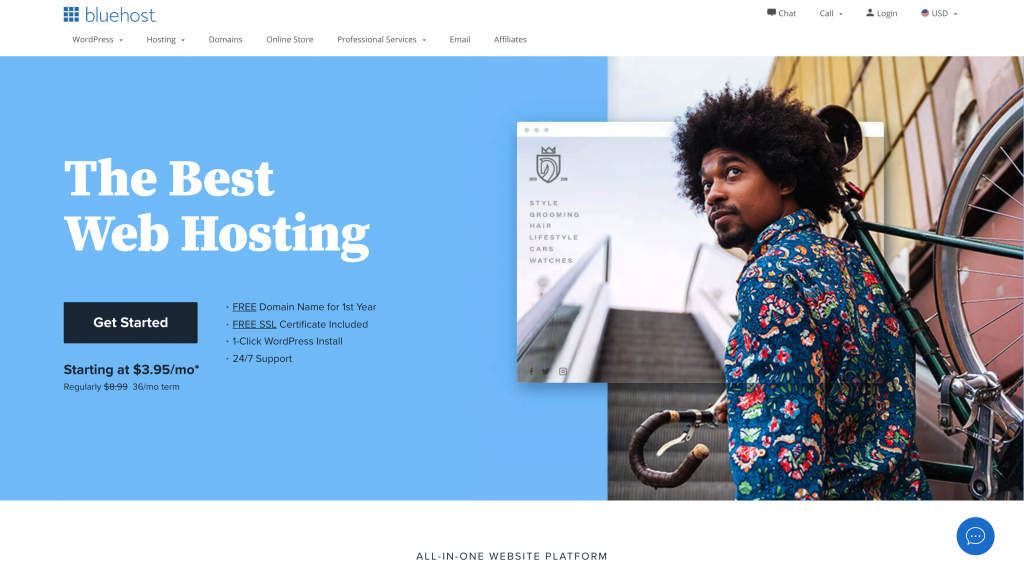
Once you’re there, click on that beautiful blue button that says “Get Started.”
On the next page, you’ll see the following web hosting plan options to choose from – Basic, Plus, Choice Plus, and Pro:
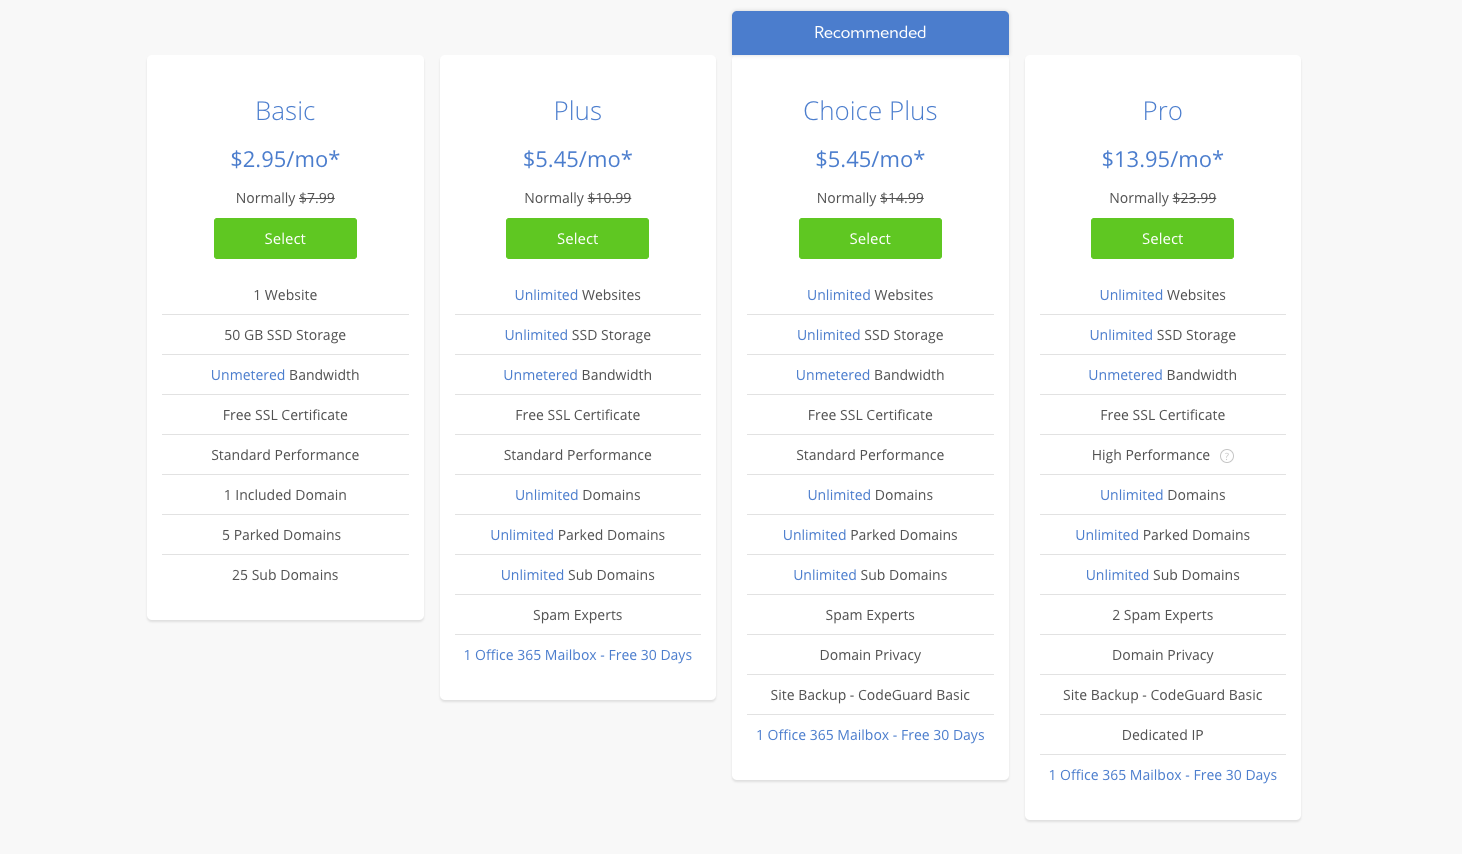
When you’re just starting out with your first blog, you can perfectly choose the basic plan.
Choose the basic plan if you’re on a budget and don’t expect to make that much with your blog yet. You can always upgrade later if you need to.
So, once you have chosen a web hosting plan (Basic, Plus, Choice Plus or Pro), click on “Select” and you will arrive on the next page, where you can choose your domain name.
Step 2: Register a FREE domain name for your blog
Now let’s move on to the most exciting part of starting a WordPress blog on Bluehost: the name of your blog!
On the next page, you can choose the domain name of your blog. If you haven’t chosen one yet, don’t worry. Simply skip this step by clicking on “I’ll create my domain later” at the bottom:
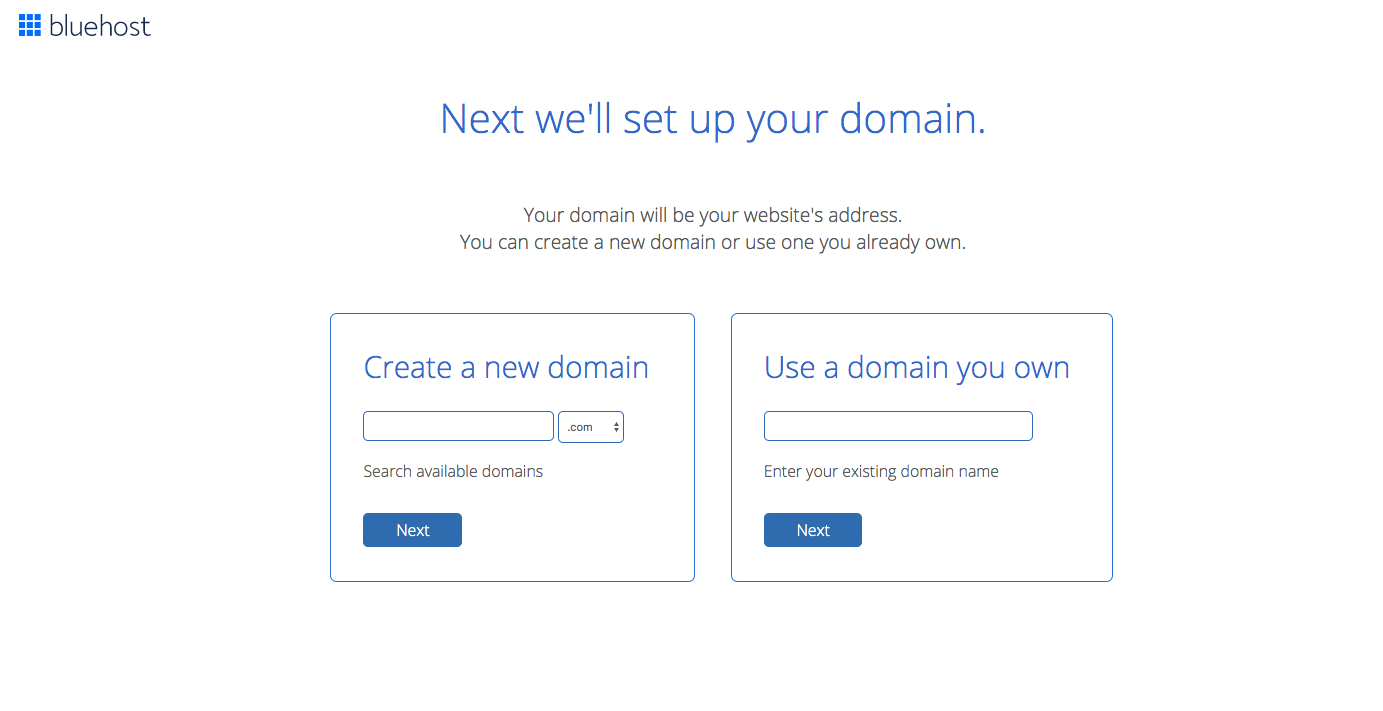
If you have a domain name in mind for your WordPress blog on Bluehost, you can register it for free where it says “Create a new domain”:
Type your domain name in the field and click “Next”.
After choosing your domain name or choosing to select it later, you will be redirected to the last step to complete your Bluehost registration process.
Step 3: Complete your registration and registration
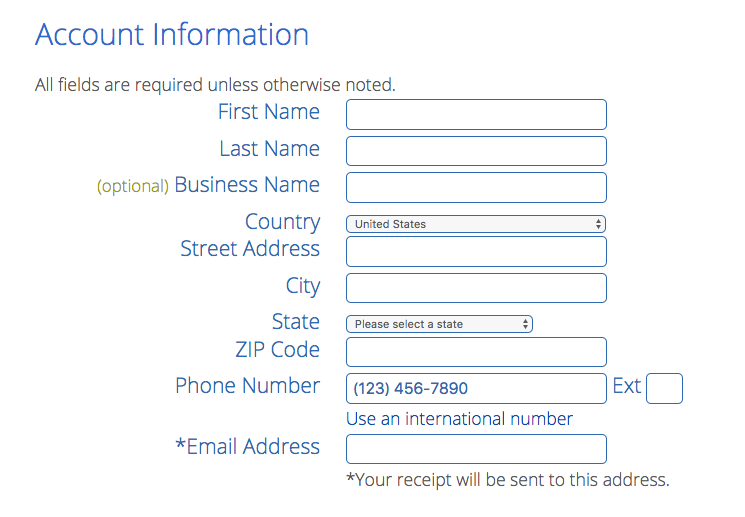
Here’s what the page looks like where you’ll enter your details to create your Bluehost account:
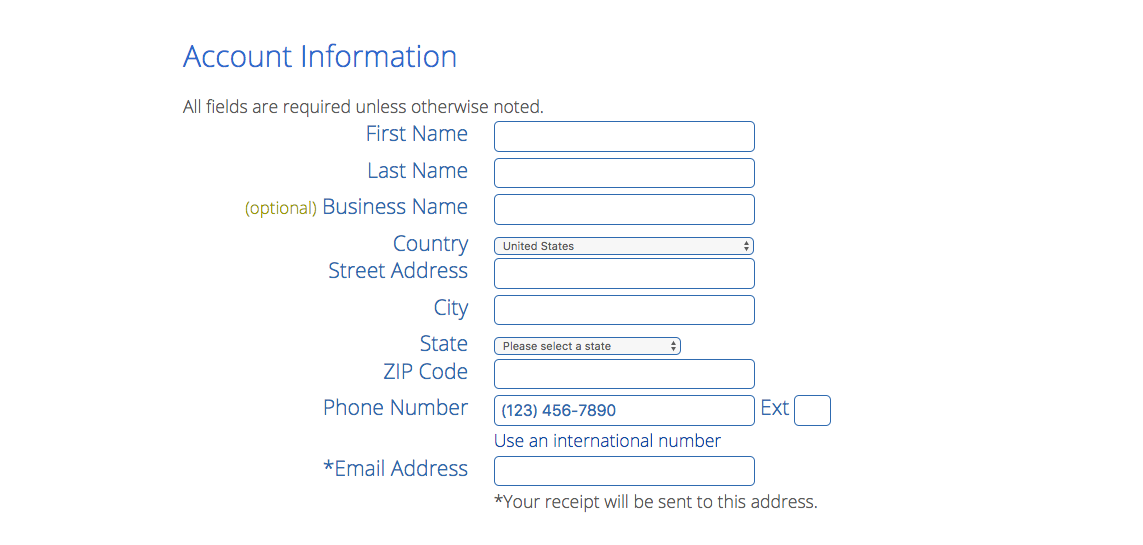
Create your Bluehost account
First, fill in your account information. Make sure you use your best email address as this is where your login information and account information will be sent:
Select the best hosting package
Second, choose the duration of your Bluehost web hosting plan:
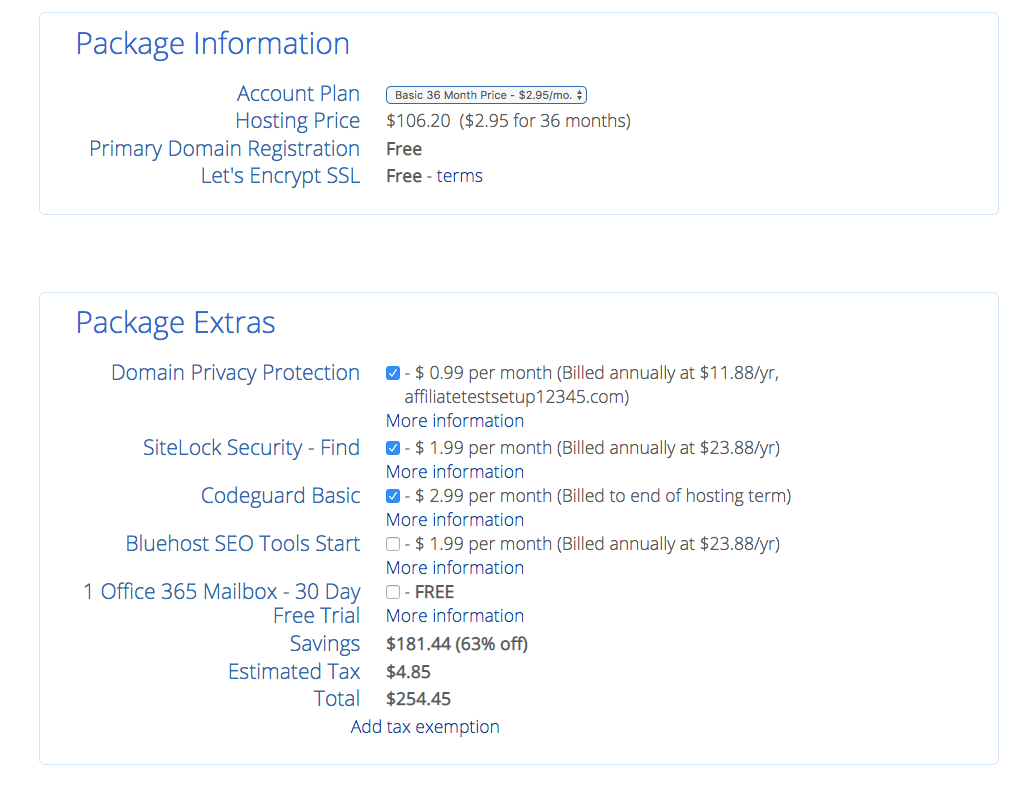
Choosing a longer package allows you to benefit from a lower price, but you will pay everything in advance.
I always recommend opting for the longest plan that fits your budget. The initial investment is higher, but you will save money in the long run.
Choose the extras of your package
Third, you can choose additional services for your blog under Package Extras:
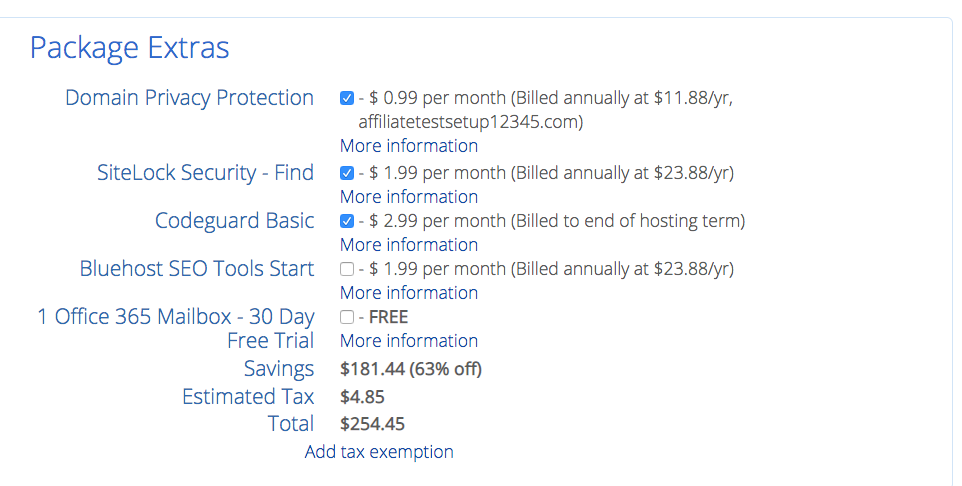
The price can go up significantly if you choose to buy some, so it’s up to you.
Click on “More information” under each item to learn more about them.
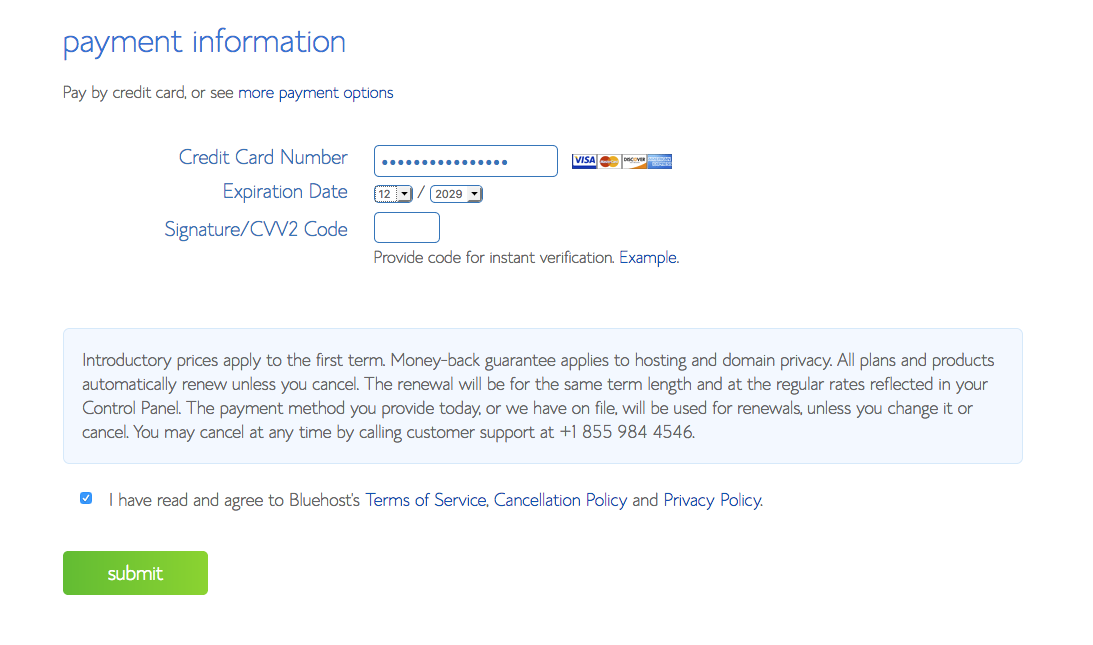
Enter your payment information
Finally, simply enter your payment information, read and accept the terms, and then click “Send”:
Congratulations!
You are now officially a happy member of the Bluehost community with your own domain name and web hosting plan!
Next, let’s go over the final steps of installing WordPress so that you can start your WordPress blog on Bluehost immediately.
Step 4: Log in to your Bluehost account
Fortunately, Bluehost today installs WordPress automatically on your account during the signup process. So there’s not much to do here, really.
Let’s just finish signing up and log in to your Bluehost WordPress blog right away!
Once you’ve completed your payment, you’ll see a warm welcome message from Bluehost:
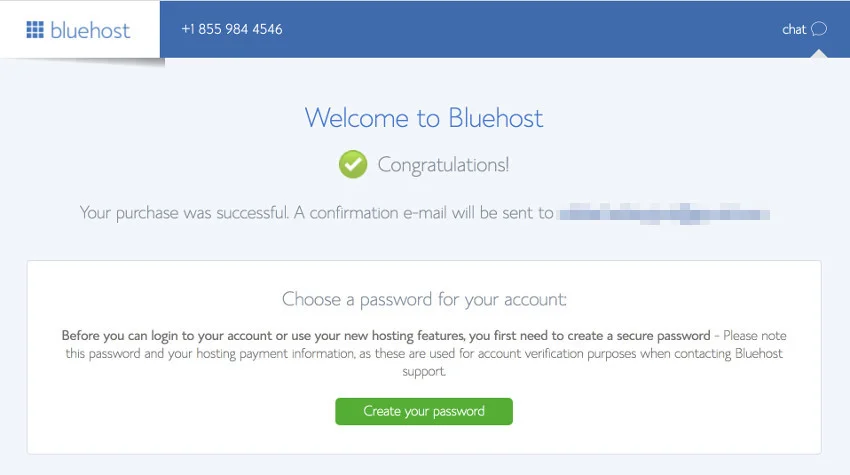
To get started with your WordPress blog, click on the bright green button that says “Create your password”.
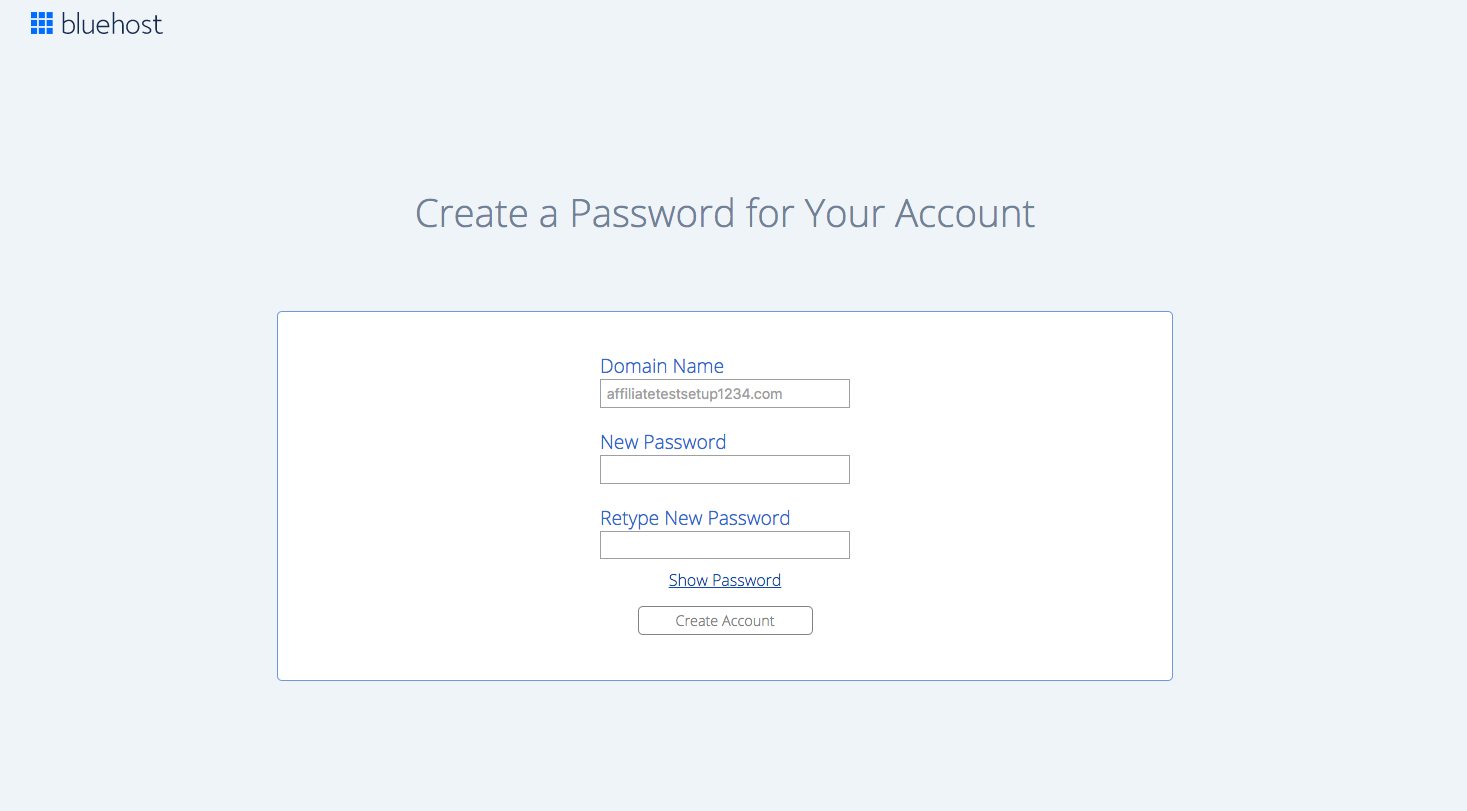
On the following page, you need to set your password for your Bluehost hosting account:
Choose a theme for your WordPress blog on Bluehost:
In the next screen, however, you can already choose a WordPress theme for your blog if you wish:
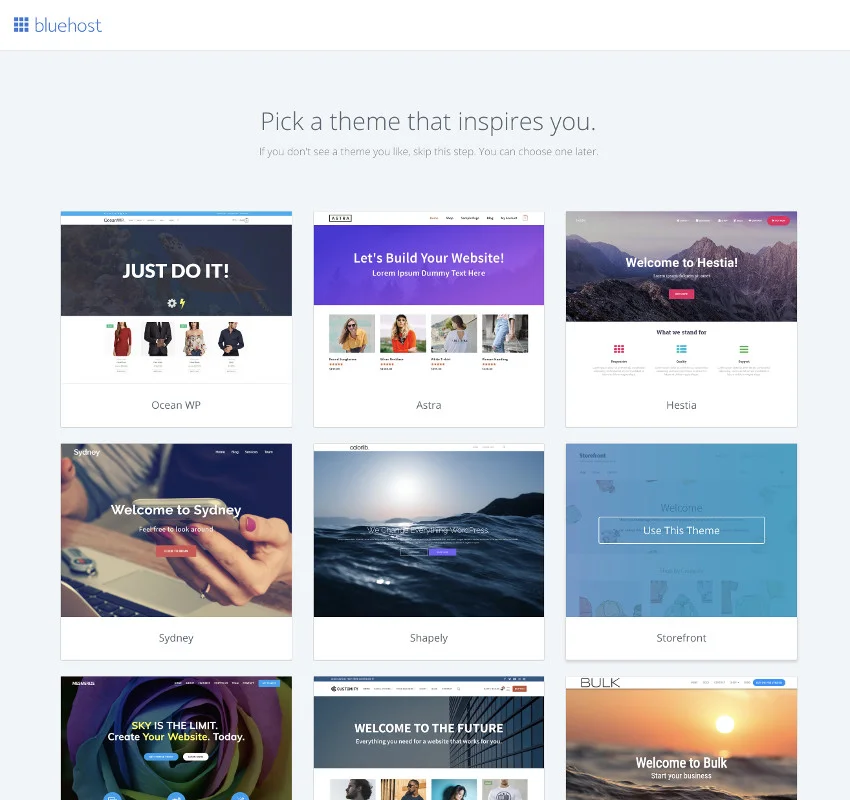
If you’re not quite sure yet, just skip the step at the bottom of the screen.
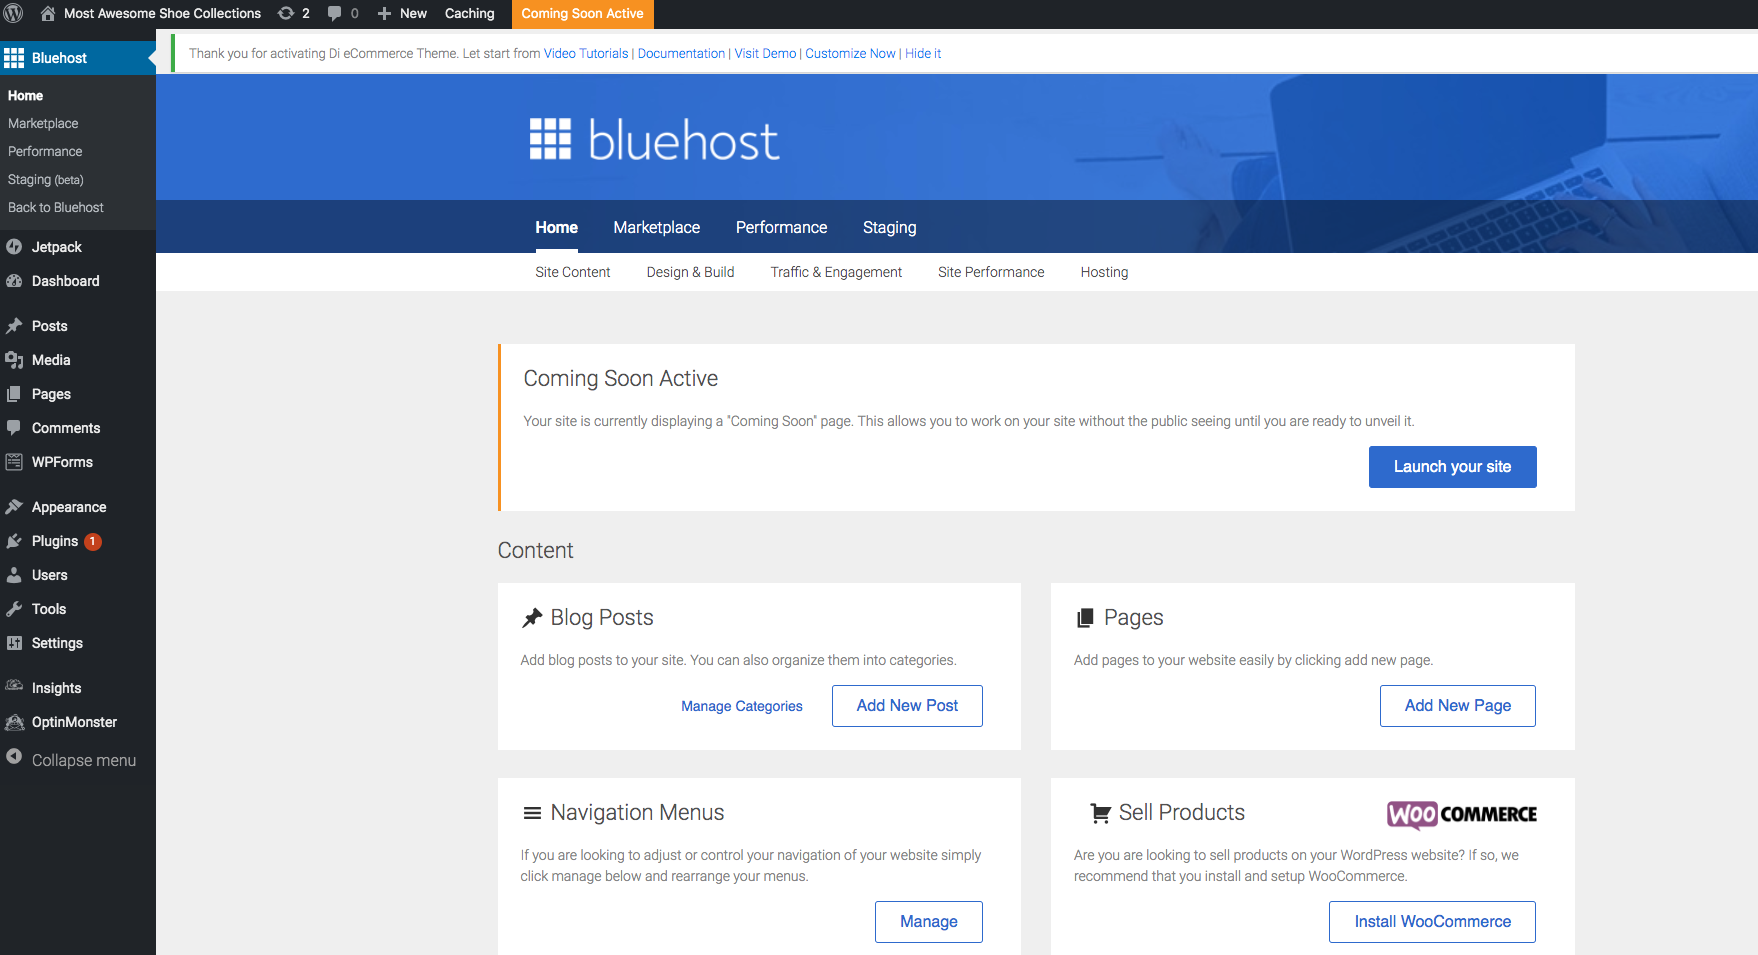
Opening the dashboard of your Bluehost account:
Finally, you will land in the dashboard of your account. Here you can manage your sites, domains, and other settings of your WordPress blog on Bluehost.
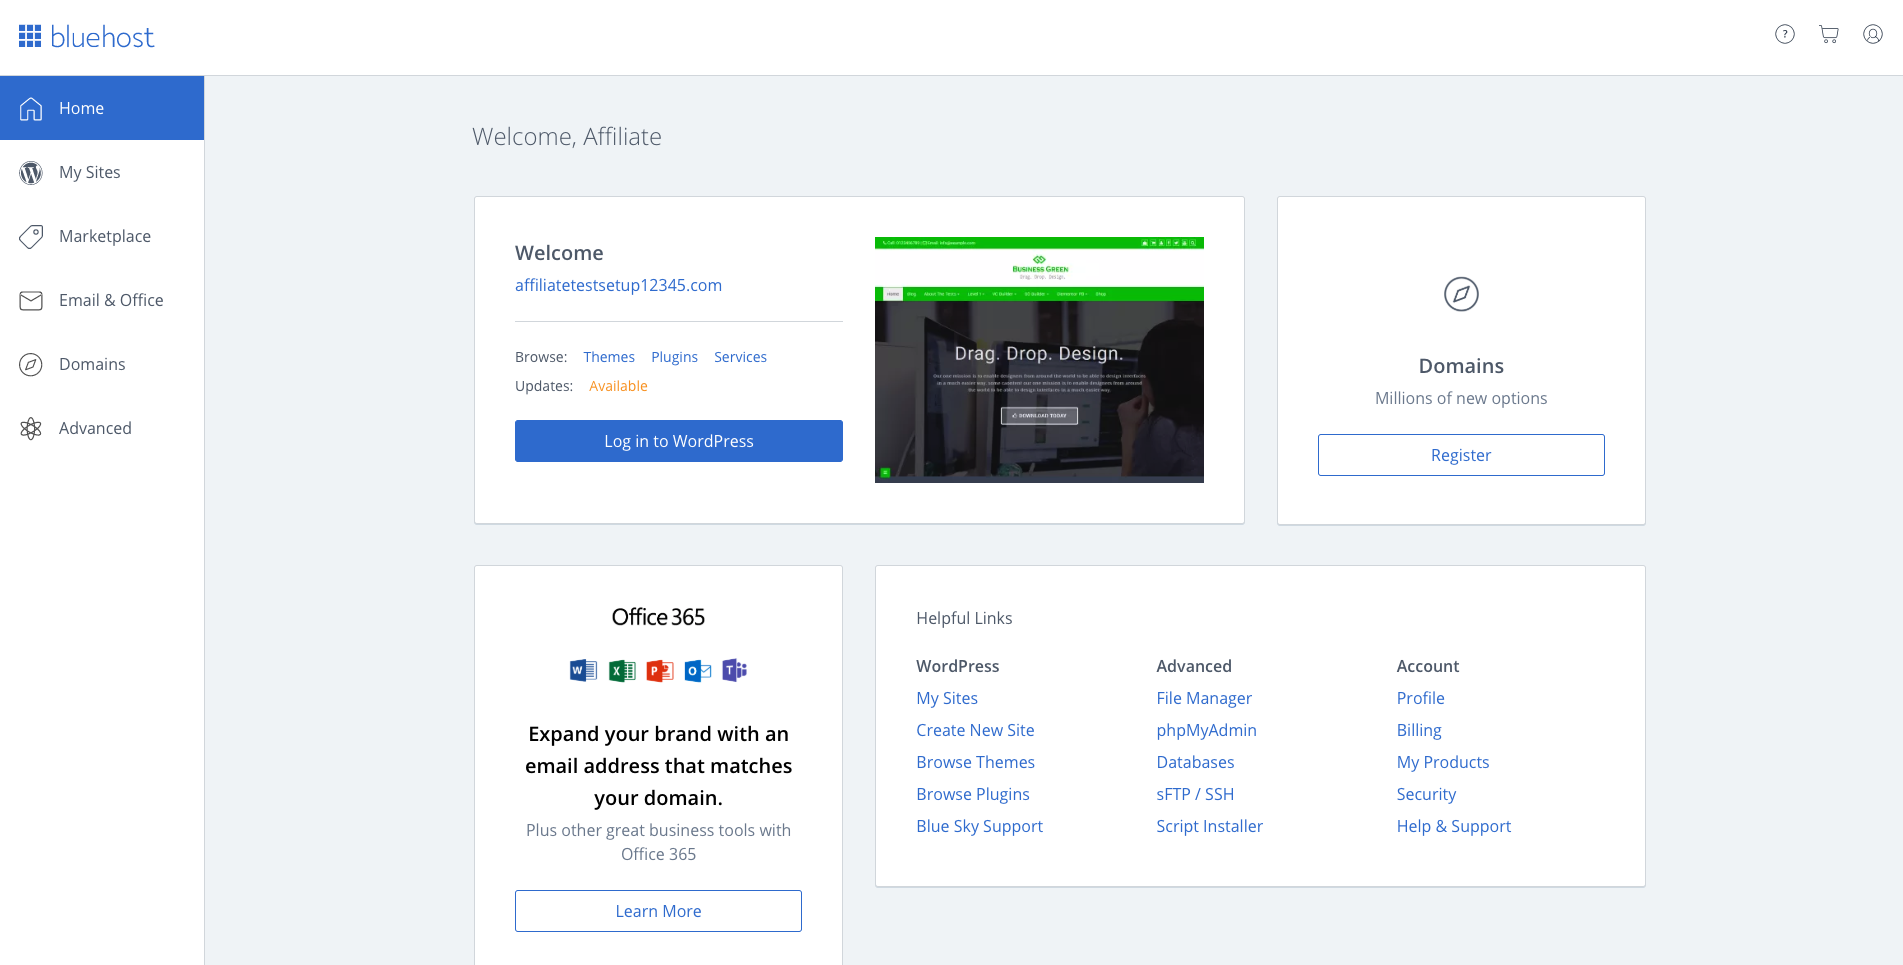
You see your brand new WordPress blog right in the center of the screen. Click the blue button that says “Sign in to WordPress” to access your blog.
Step 5: Set up your WordPress blog on Bluehost
Now that you have put all the technical details in place, you can take a deep breath and sit down.
Your domain name and blog hosting are ready.
Go to the dashboard of your WordPress blog :
To start blogging, simply click “Sign in to WordPress” in your Bluehost account dashboard to get started with your awesome new WordPress blog:
Alternatively, you can access your WordPress website by typing your domain name into your web browser using your personal URL and adding “/wp-admin” to it. So, if your domain is “exampleblog.com”, just type
exampleblog.com/wp-admin
in the address bar of your browser.
Press Enter and you will be redirected to the login screen of your WordPress blog:
Just enter your login details, click on “Login”, and off you go!
If you’re not sure about your WordPress blog username and password, don’t worry. Just check the email you just received from Bluehost for your login information.
Step 6: Write your first WordPress blog post on Bluehost
To get started, open your WordPress dashboard.
There, go to Posts > Add New:
This will open the standard WordPress blog post editor which looks like this:
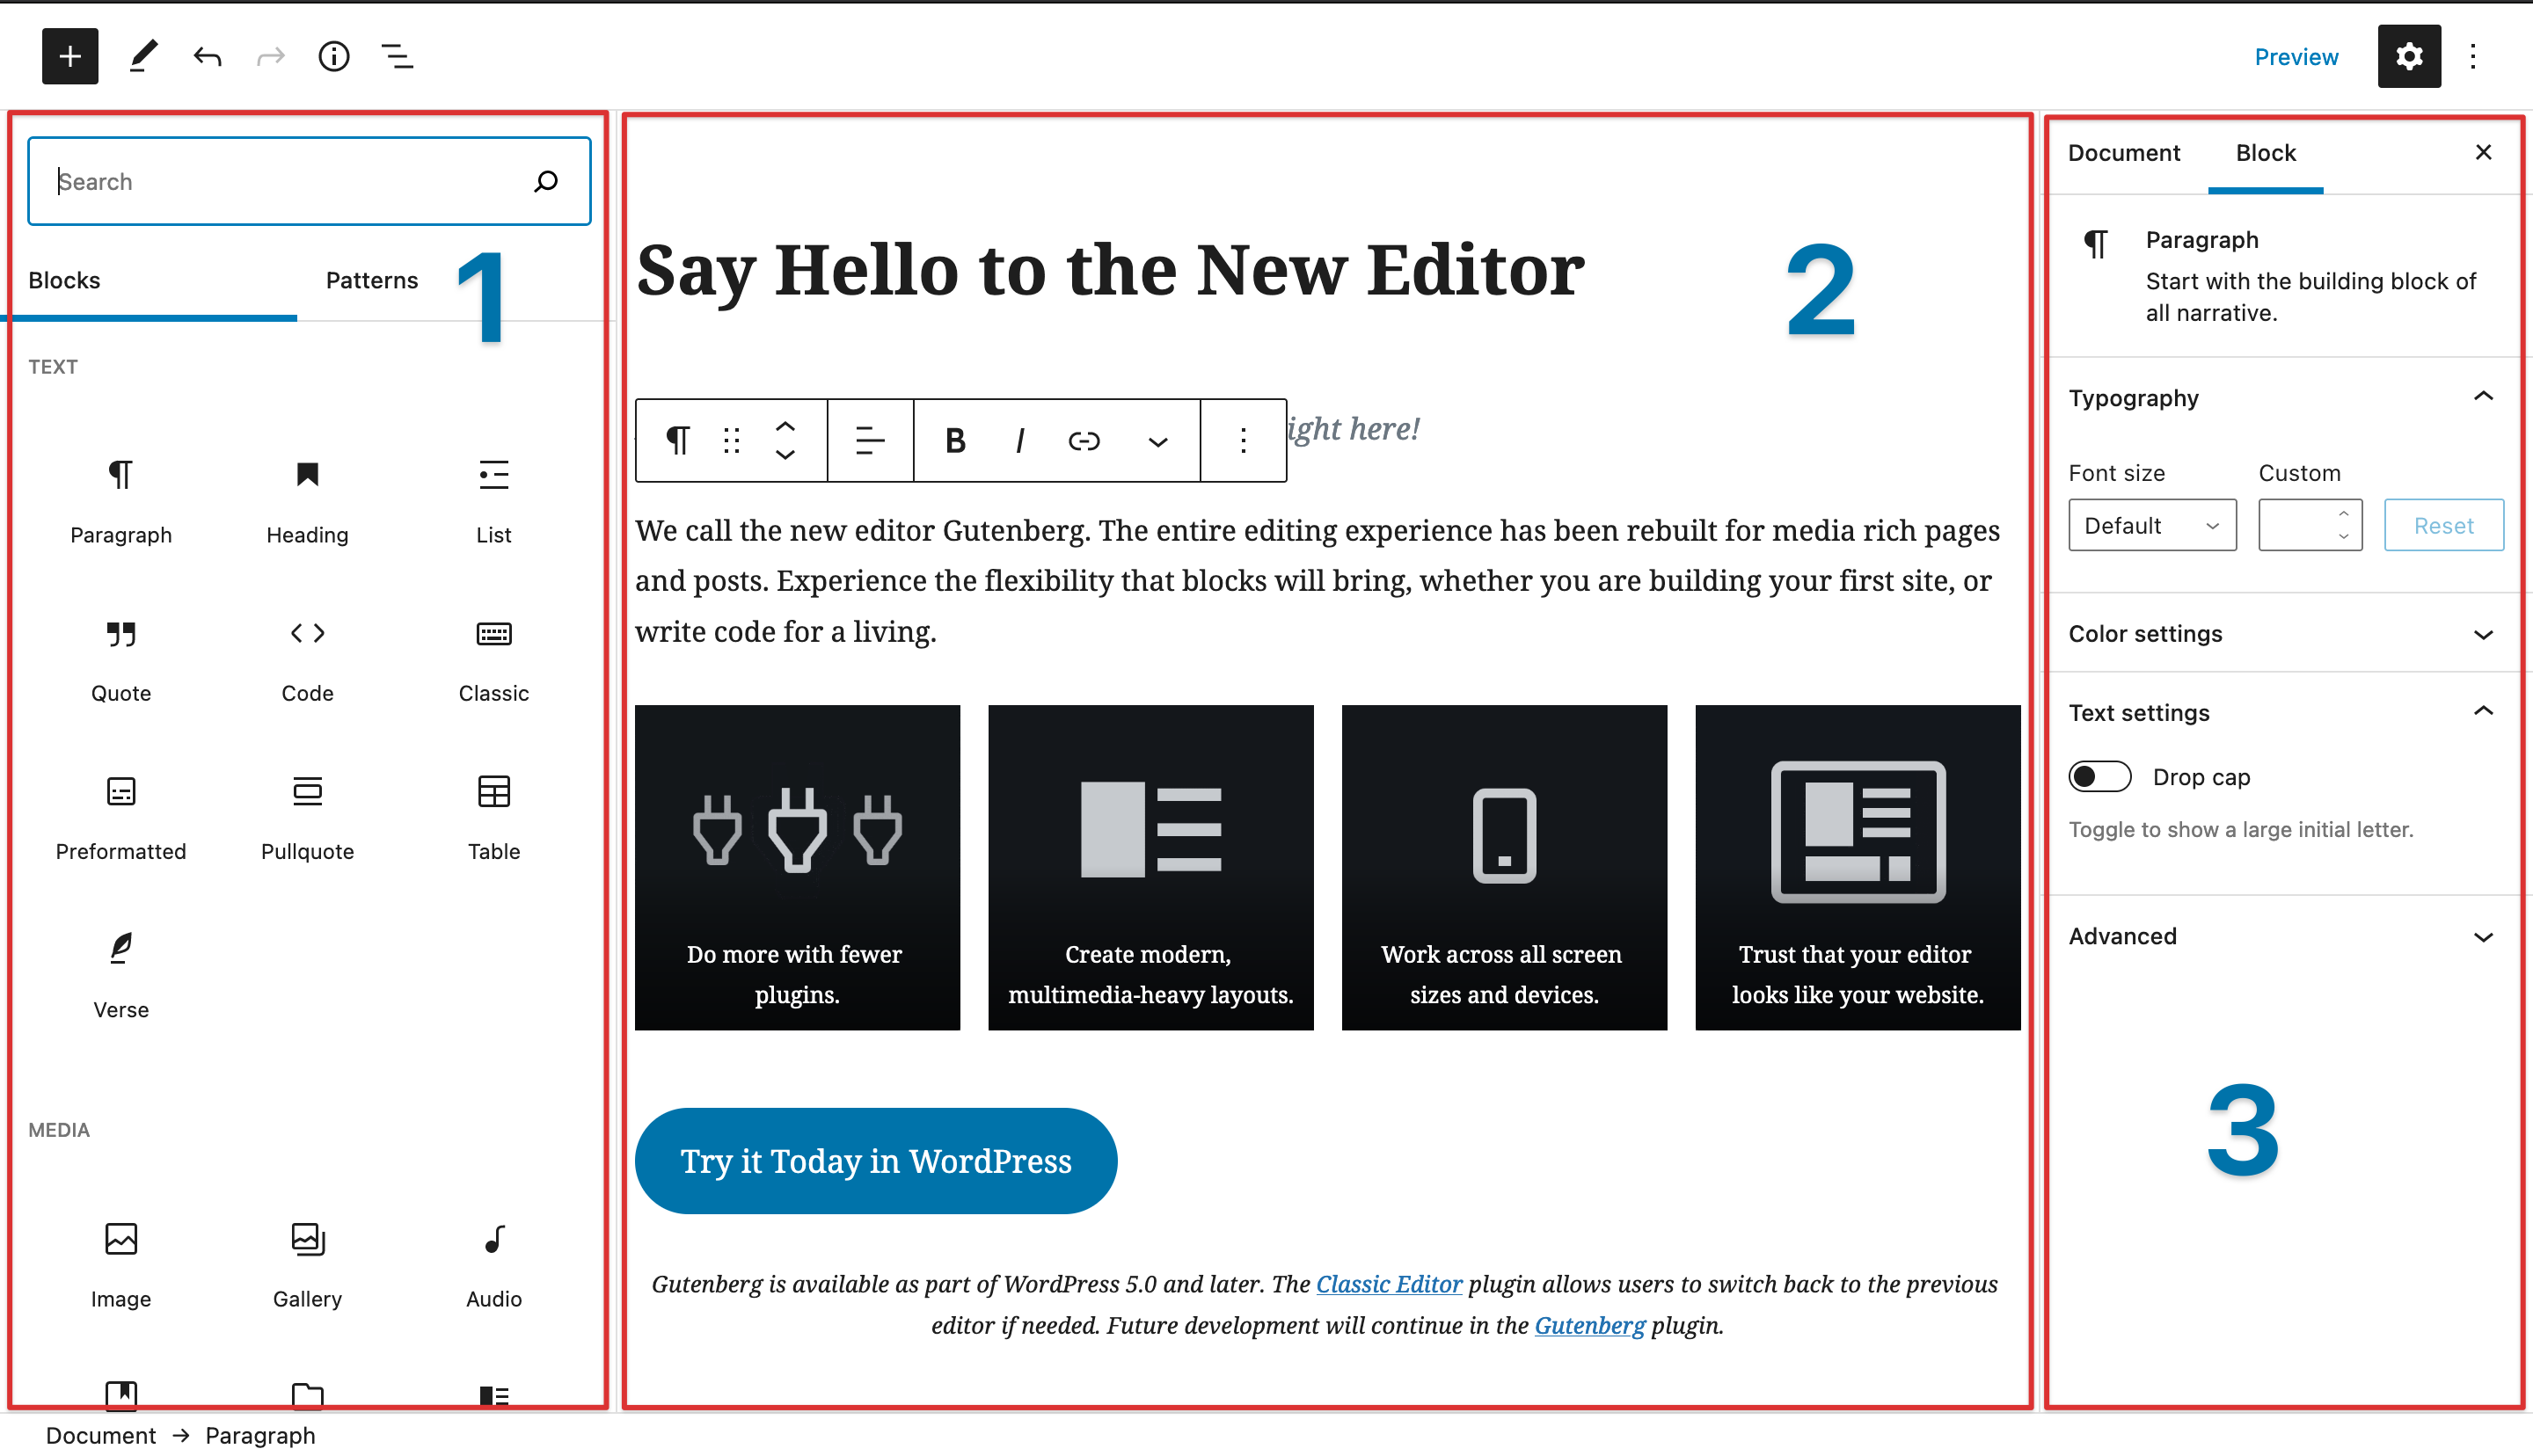
Now, this interface is full of different tools, again. Let’s take a look at a few key features you might want to use.
Feel free to add a few paragraphs, titles, and media files to finish your first WordPress blog post.
Try the different formatting tools and don’t be afraid if something goes wrong! You can always add new blocks of text and remove the ones you no longer need.
When you feel like you’re done, you’ll find a blue Publish button in the top right corner of your WordPress blog post editor.
Press the button to share your very first blog post with the world!
Create WordPress Blog on Bluehost : FAQ
How to start a WordPress blog in 2024?
If you want to start a blog in 2024, here’s a simple step-by-step guide to follow:
- Sign up for web hosting (I recommend Bluehost).
- Choose your blog hosting plan.
- Choose a domain name for your blog.
- Complete your registration with Bluehost.
- Wait for the automatic installation of WordPress to complete.
- Log in to your WordPress dashboard and write your first blog post.
Conclusion
First of all, congratulations on getting here! You should have a clear idea of how to create a WordPress blog on Bluehost in 2024, step by step now.
You have a fully functional blog for years to come and you can start creating awesome content for your readers right now!
Let me know, Have you decided to create your WordPress blog on Bluehost or not yet?